Today I’m going to talk a little bit about how you can level up your photos with local adjustments in Lightroom, Very efficient way to use only Adobe Lightroom to create fantastic editing, without needing another app, or plugins.
Up your game with Local Adjustments in Lightroom
Using settings located in Lightroom you have much more control over how to edit your photos. Not only simple things like a gradient filter, but also more complex things like skin care, removing marks and also cloning objects.
Almost all local adjustment tools in Lightroom have options very similar to the Basic Adjustment Level controls .
Only one of the localized Lightroom tweaks has ever been of use to me, but that doesn’t mean you can’t make good use of it. All local adjustments in Lightroom work with masking systems, this means that you don’t have to worry about damaging your photos, as it doesn’t.
With a mask system, you can very easily change any aspect of the setting if you don’t like the result. We will dissect each of the local adjustments.
Spot healing and Clone Stamp
In the local adjustment tools section in Lightroom, Spot healing / Clone stamp is the second one, next to the clipping tool.

Very useful when you need to remove dirt from stain skin, pimples or even some dirt present in your camera’s sensor. I consider this tool to be indispensable in everyday life, because with it you can get an image with much better.
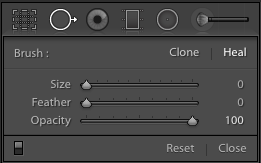
It has very simple features, just the size, size , of the brush to be used, opacity, opacity, and the smooth control, feather .
The use of this local adjustment tool is very simple, choose the tool, click on what you want to disappear, and that’s it.

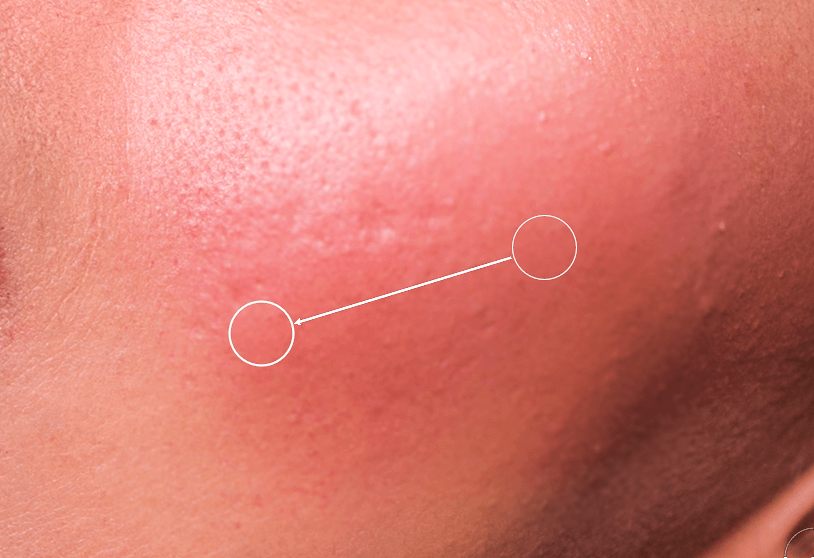
You can even choose the location where it will be used with the sample to correct the desired region.
With the clone stamp tool it works in exactly the same way. Particularly I prefer to use Photoshop when I need to clone a lot, it is much faster than in Lightroom.
In the bottom bar of the photo, when the healing tool is active there is a very interesting feature.

When this feature is active, it improves the visualization of dirt spots, very useful for this with the camera sensor dirty.
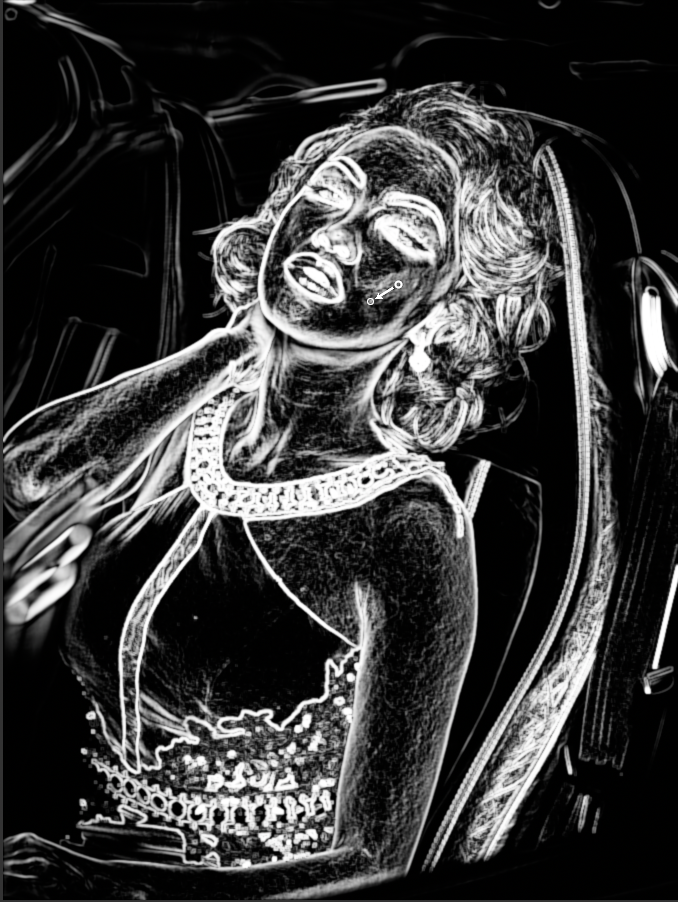
Your image will look like this and the very bright spots can possibly be dirt spots and need to be cleaned!
Gradient Filter
This is perhaps the most used tool in Lightroom, as its features are great.
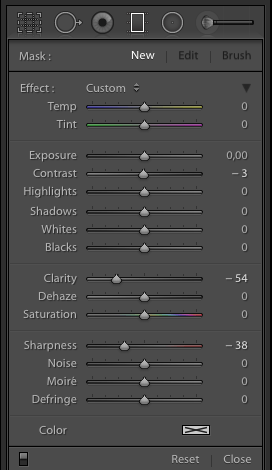
It has all the features at the basic level of Lightroom editing, such as temperature, contrast exposure and more. With this tool you can manipulate the photo lighting in a very cool way.
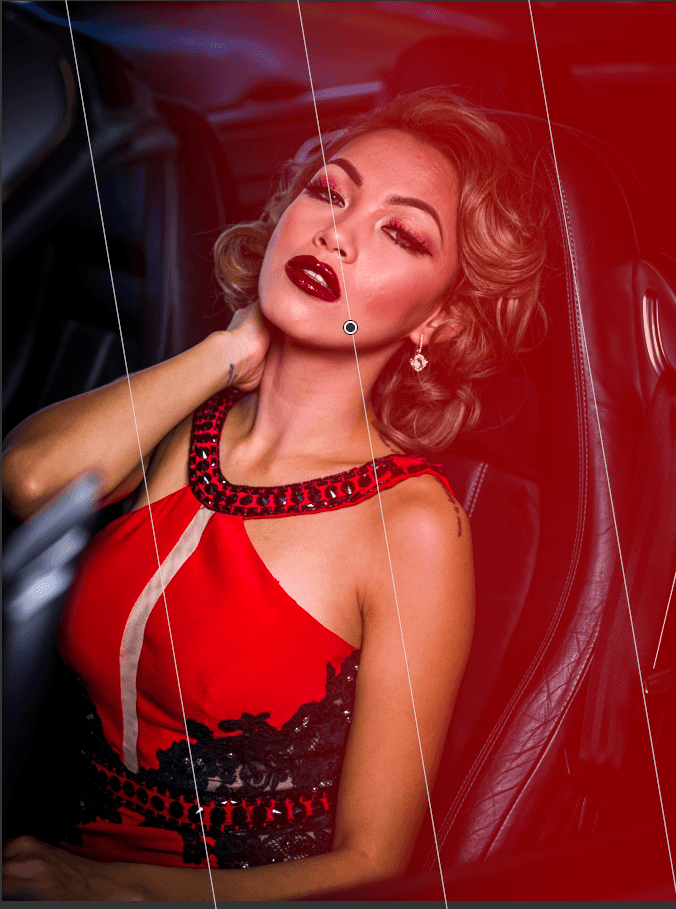
As soon as you use the gradient tool you will have a view more or less the same as the photo above. The red areas, following the diagonal lines, are the areas that will be affected by the filter.
In this area you can manipulate any aspect of editing using the filter controls, options are never lacking . If you do not want the gradient to affect any region of the photo where it is applied, just use the eraser, available in the settings, and erase the desired areas.
To do this just click on brush and then on eraser.
Note that the model’s face is now unaffected by the gradient filter, so I can work with my local adjustment in Lightroom much more precisely.

Radial Filter
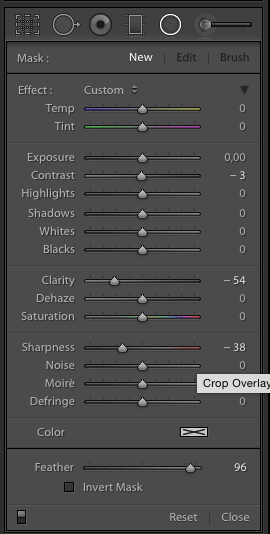
Much like the gradient filter, the radial filter works in the same way and with the same options. Its biggest difference is that instead of using a straight gradient, it works in a radial or oval shape.
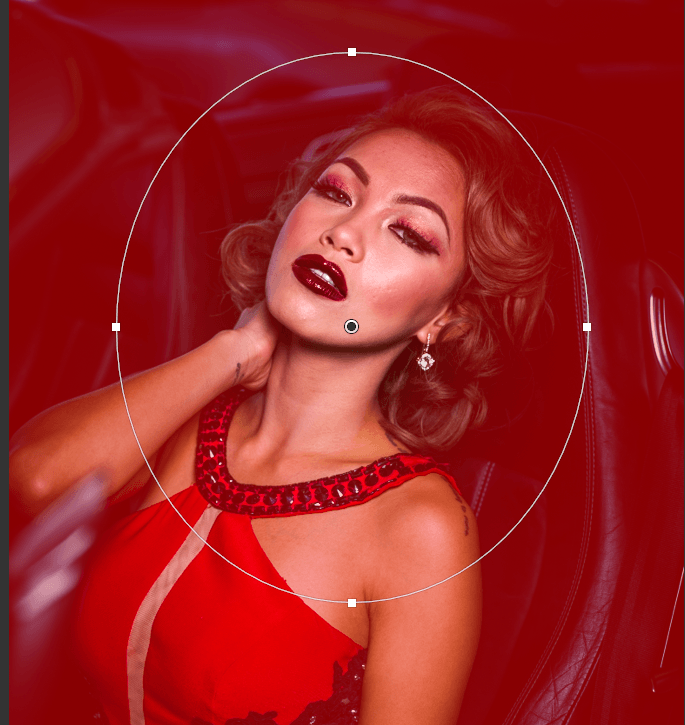
Extremely useful tool when you want to change a light bridge, or add one.
Being able to work with adjustments both inside, inside the circle, and outside, outside the circle the manipulation options are very large with this tool. With the radial filter it is possible to use the rubber to further adjust the adjustment action, only using the same procedure as the Gradient filter.
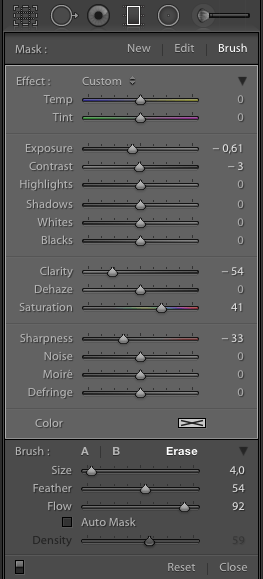
Brush
Don’t underestimate the value of a good brush, and the Lightroom brush is your Swiss Army knife.
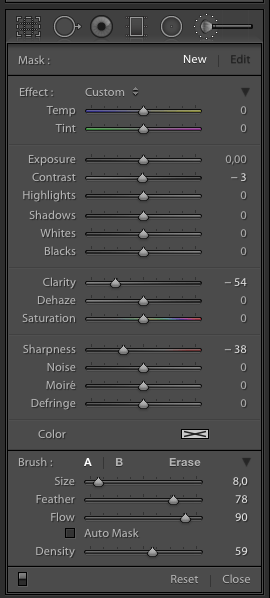
The Lightroom brush, like all other local adjustments, works with masks, so don’t worry, don’t like it, just delete it and start over. Both the brush and other local adjustments can be used as often as you like. As if you were working with Photoshop layers.
In addition to allowing you much more control over the area that will be changed, the brush also allows you to work in a more artistic way. The features present are the same as those of the two previous filters, including rubber.
Red-eye reduction
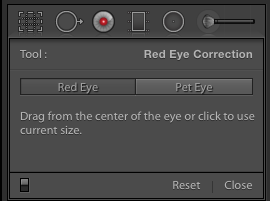
To be quite honest I never needed to use this tool, but the procedure is very simple.
If you have a photo, whether of animals or people, that has that strange reflection in the eye, just click here to select the area that will be affected, and Lightroom takes care of the rest. Very simple is easy.
To recap
Local adjustments in Lightroom:
- Spot healing / Clone – remove stains and dirt
- Gradient filter – Change the lighting, texture, color of an area. Linear shape
- Radial gradient – Change the lighting, texture, color of an area. Circular shape
- Brush – Change the lighting, texture, color of an area. Circular shape, much more control
- Red – eye removal – the name itself says what it does.
And these are the local adjustments in Lightroom, now and sit there and put it into practice. I guarantee that your photos will look much better after using these tools.
Don’t forget to see all of this in action in the video below.
And also if you want to become a master on LIghtroom take a look at the series of posts Mastering Lightroom in 7 days , you will have everything you need to know to edit, organize and finish your photos like a professional.
Any questions or suggestions leave it there in the comments section or on my Twitter, @Fotographiko.

