Sometimes we are faced with situations where we need simple solutions to finish or develop some work, and in today’s tutorial, how to make a light tent for product photography , you will see that you don’t need a lot of money to get good results .
How to make a light tent for photography
Why spend money when you can do things yourself, right?
This is always the question that crosses my mind when I have a project of this type, like Professor Pardal, ahead of me.
And when I see the price of some things out there, and especially how they are made and how expensive they are, I often decide to get my hands dirty and do it!
For this project you will need very simple things, and some you probably already have or will not cost you anything!
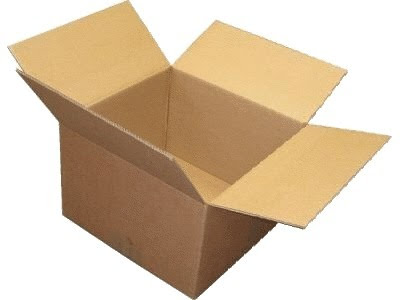
Cardboard box
You will need a cardboard box, it doesn’t have to be very big, just avoid longer boxes, like cereal boxes, these won’t help you much.
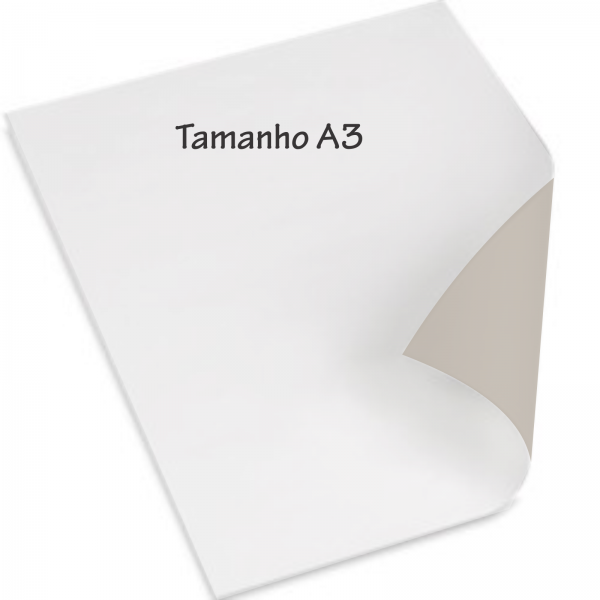
White A3 paper or some white fabric.
Here again it is also simple.
If you choose to use fabric, buy enough to cover the entire box, and you won’t spend much.
It can be cotton or nylon, here you choose, I preferred to use A3 sheets of bond paper.
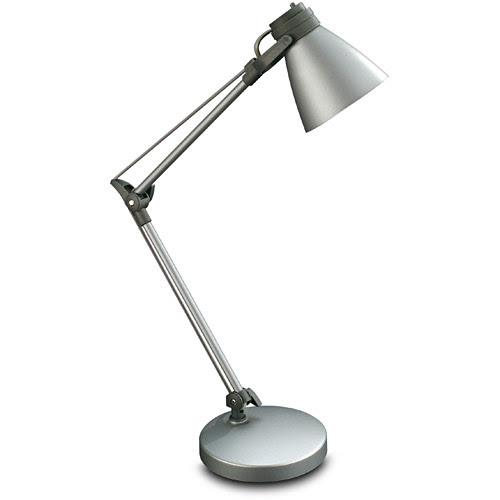
Type of lights
To illuminate your new light tent you will need some lamps, and 3 of them are a good number.
Perhaps this is where you will spend the most money, the most it will be worth.
Look in hardware stores, hypermarkets and on the internet until you find the best price.
Look for lamps that work with white light, broad spectrum, this will help you a lot too.
Don’t forget the light has color , so find a lamp that suits your lighting needs.

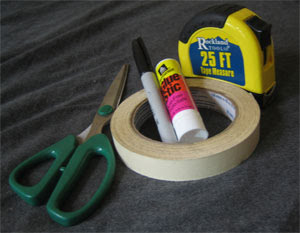
General Purpose Materials
Scissors, glue and duct tape will be your friends during this project. A ruler and a stylus will also be of great help!
Let’s get to work and let’s make our light tent
This is a very easy project, and also very useful especially if you are going to take product photos.
Start by marking the areas you are going to cut out of your cardboard box.
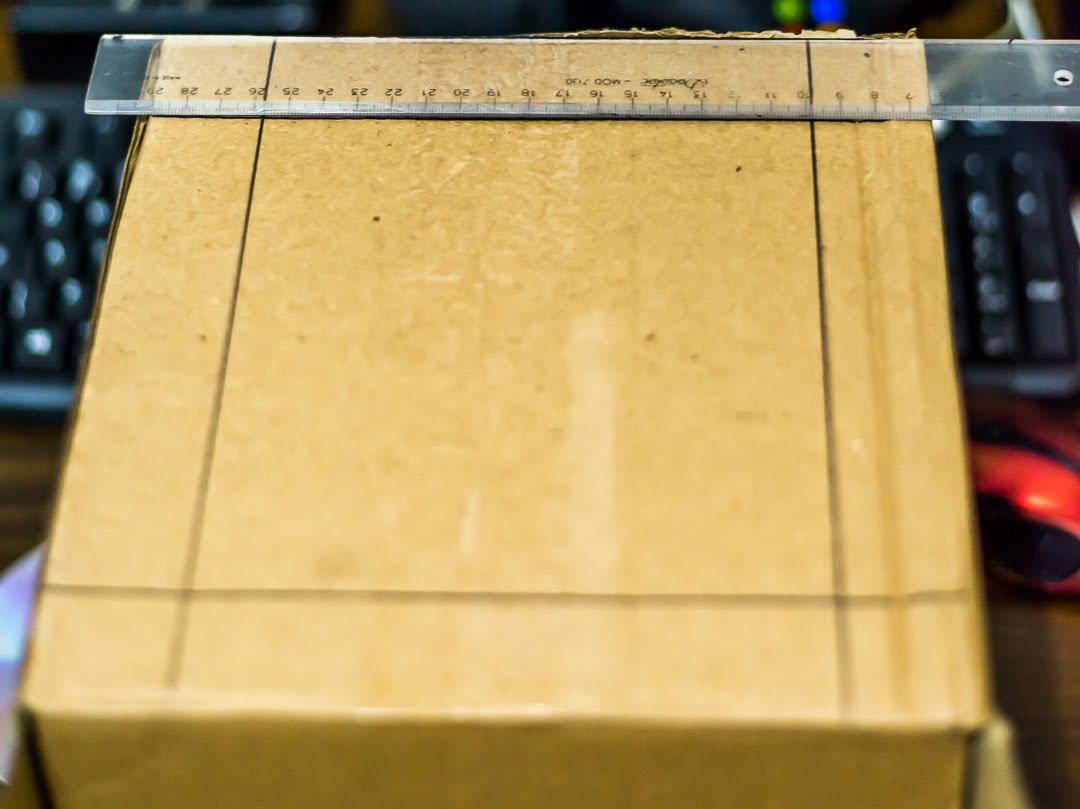
After the marks on both sides and the top of your box, which will become your light tent, use a stylus to cut out the holes.
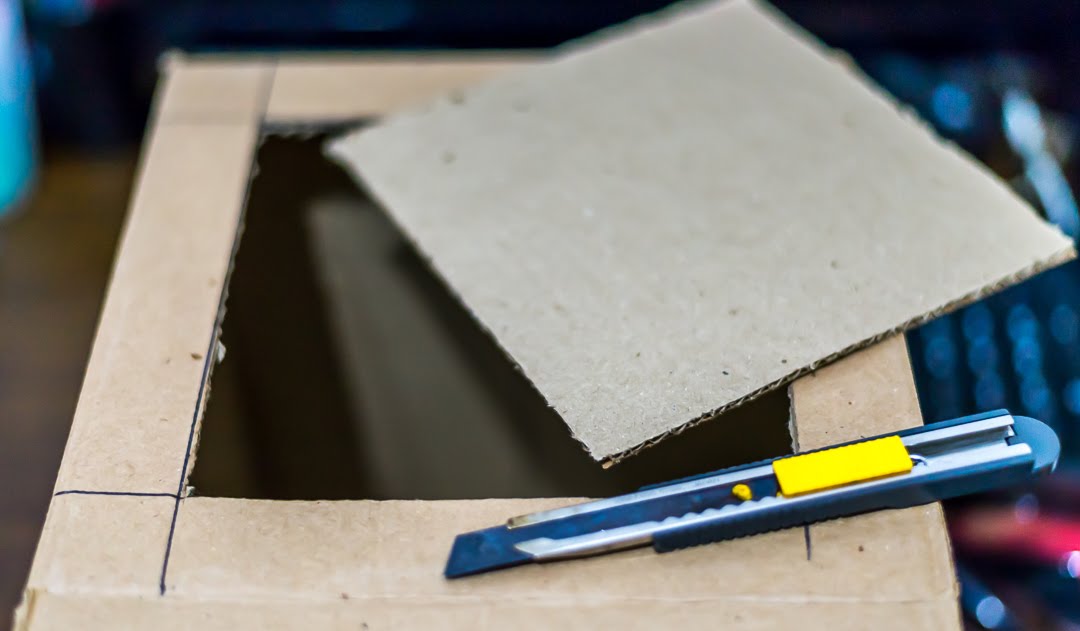
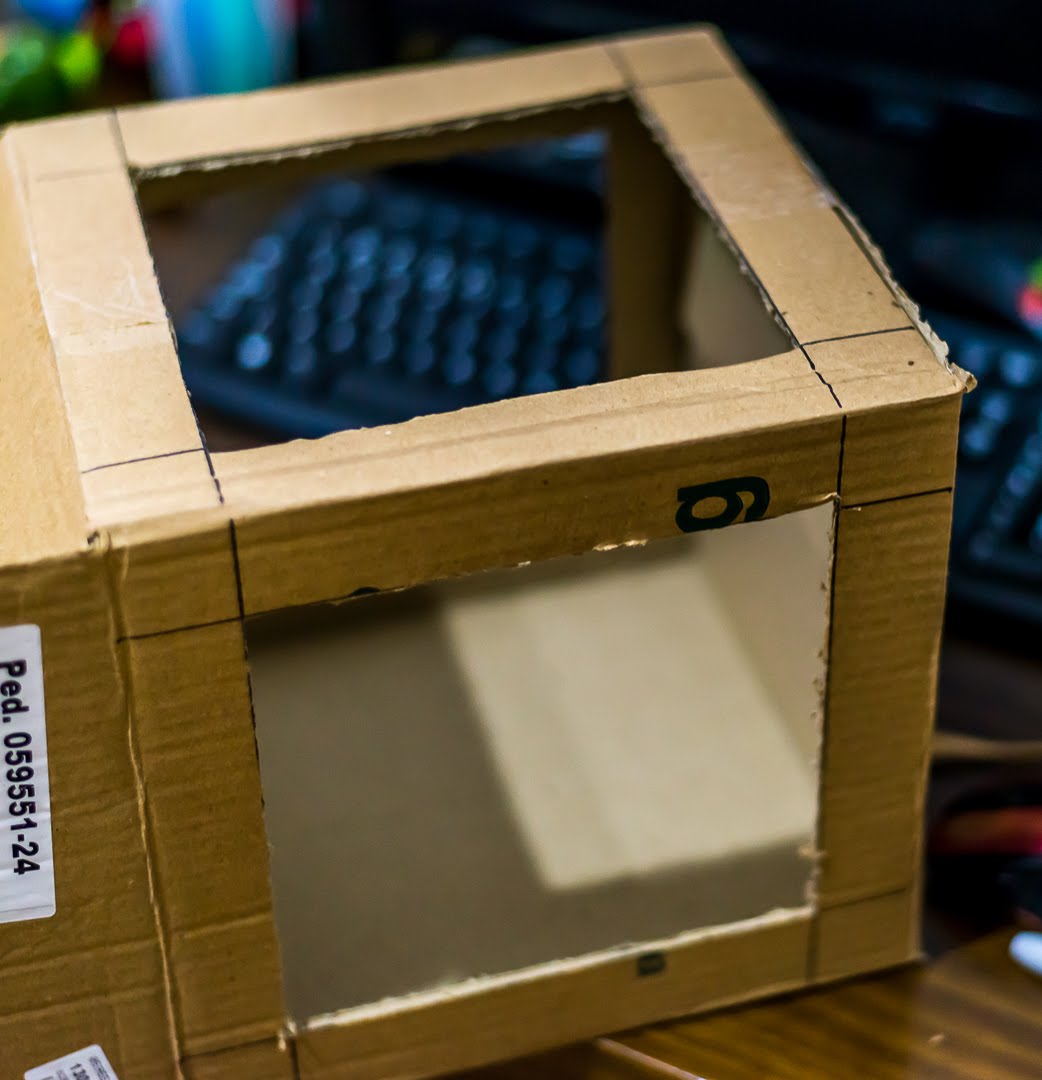
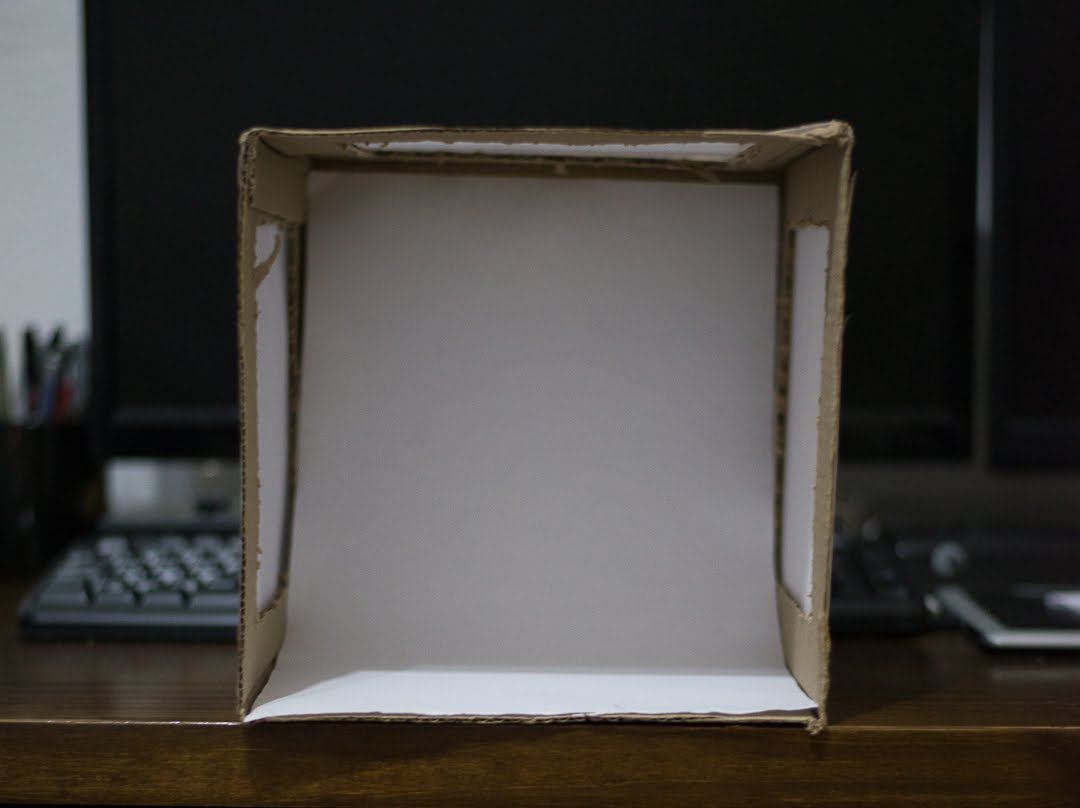
Be careful with the use of the stylus, after all safety first. As soon as you cut out the hollow areas of your light tent, it should look like this.
Now is the time that you must decide whether to use for or light-stained paper. As I had a few sheets of A3 paper left here is what I used.
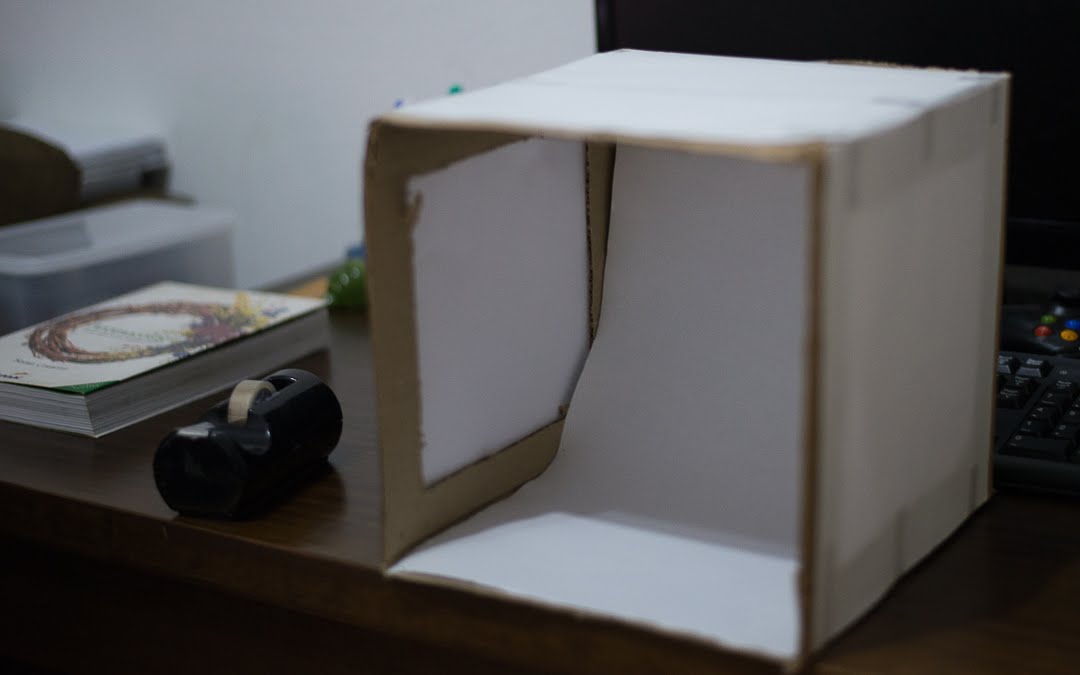
Using adhesive tape or glue, cover the hollow parts of your new light tent, leave it like the photo above, take the opportunity to make a background on the inside of the box.
In the end it should look like this.
As it is an easy and very inexpensive project, I don’t usually keep my light tent active for a long time, so every time I need one I usually make a new one according to the size of what I’m going to photograph.
Shooting with a light tent
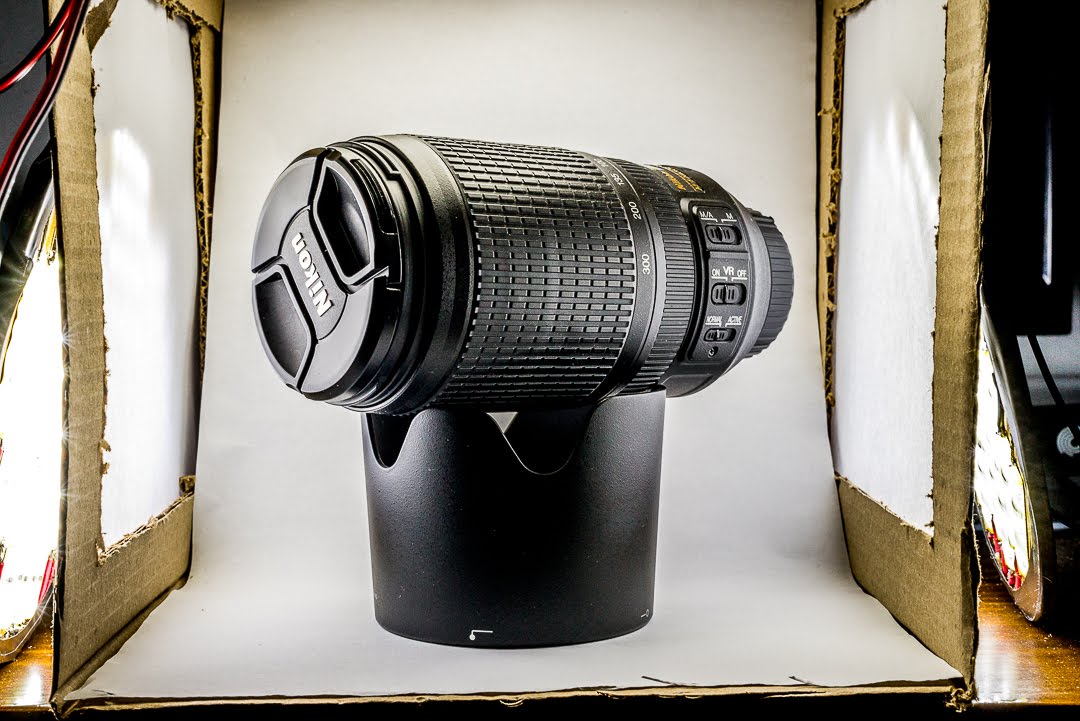
Place your lighting on the sides of your box and also on the top so that the light goes over your diffuser and illuminates your object.
Now just click. Here you can also play with the placement of your lighting until you achieve the desired effect.
Using a light tent you have more control over the color of the world and the lighting of your subject. This makes any editing much easier.
This image was just copied to Lightroom and no background changes were made.
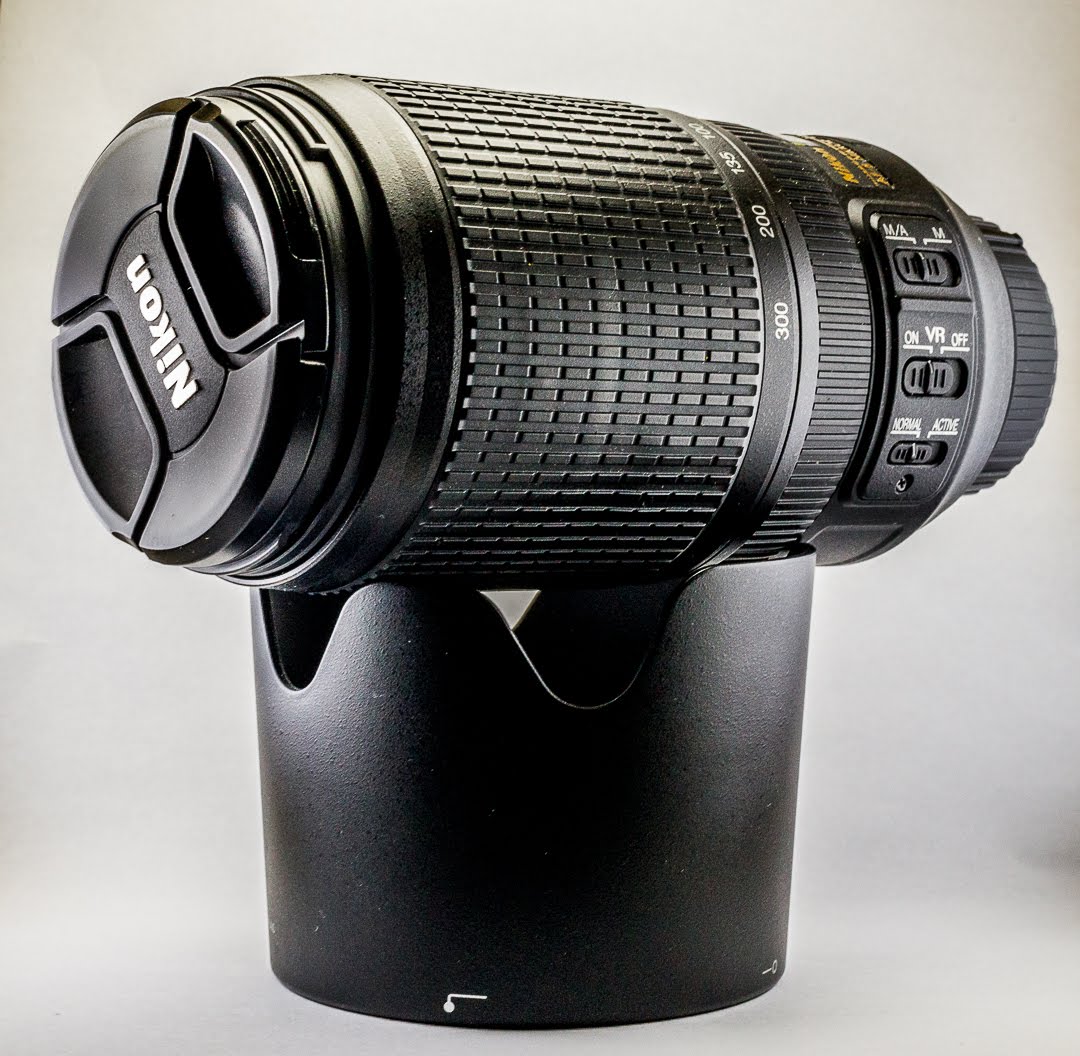
In this image Photoshop showed its value, the background was replaced by a gradient from gray to white.
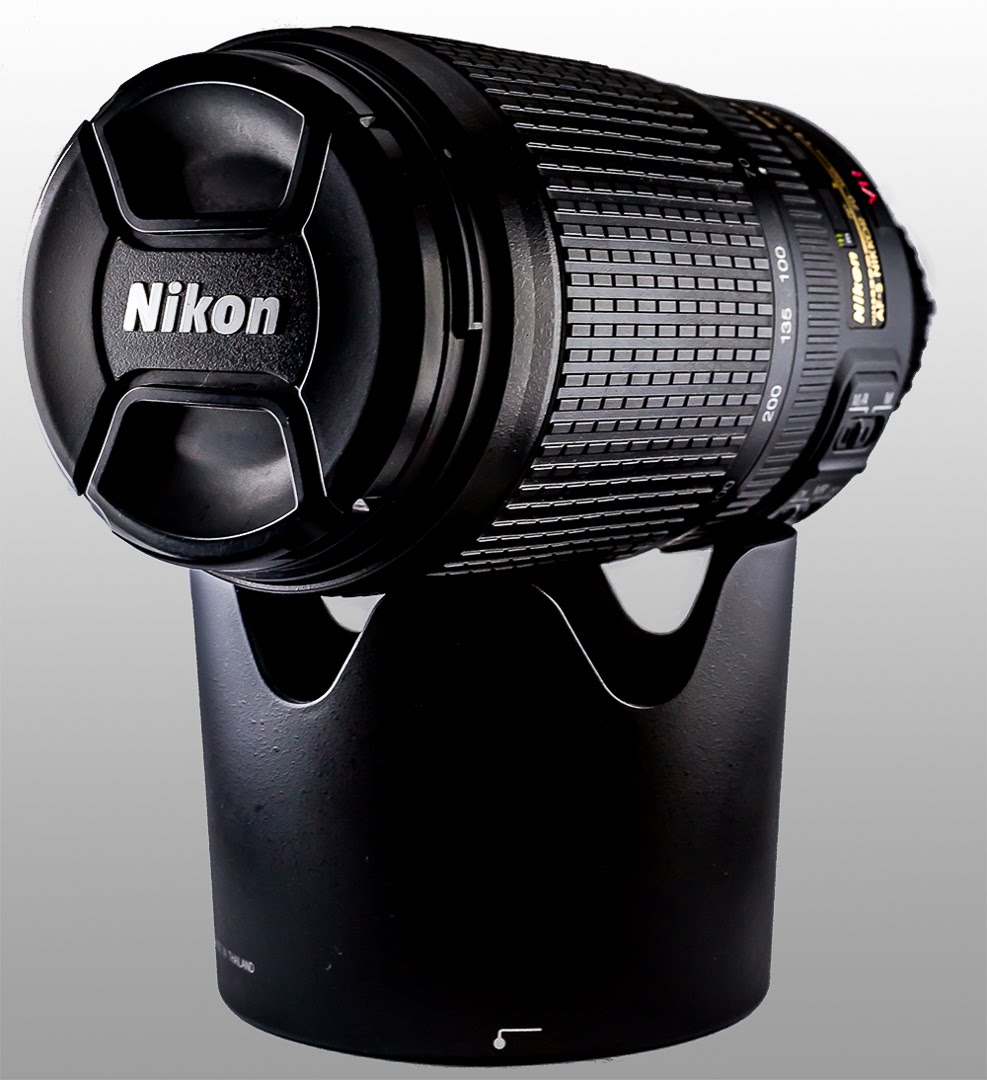
As you can see from the photos, the use of a light tent for those who shoot products is a beautiful hand on the wheel.
And because it is a very easy project to do it is always worth having some cardboard box on hand.
Like, leave the photo of your light tent in the comments.