To help complete the knowledge about natural light today we will talk about the direction of light.
So if you haven’t seen the previous articles I suggest you start here:
Natural light: Understanding the color of light
Understanding Light Direction
In this third part you will learn
- How to control the direction of natural light
- Understand how the direction of light can affect your photos
- How to manipulate the color of the light to create depth
- How to use reflector
Working with natural light
Many people believe that working with artificial lighting is the best solution of all, always using the premise that they can fully control the behavior of light.
When you work with natural light, natural lighting, your ability to control lighting is very limited, and this is true.
However, it is not impossible to create good images with natural lighting or even using a little of each, natural and artificial.
And for this to happen, good planning for your photos with natural light is necessary.
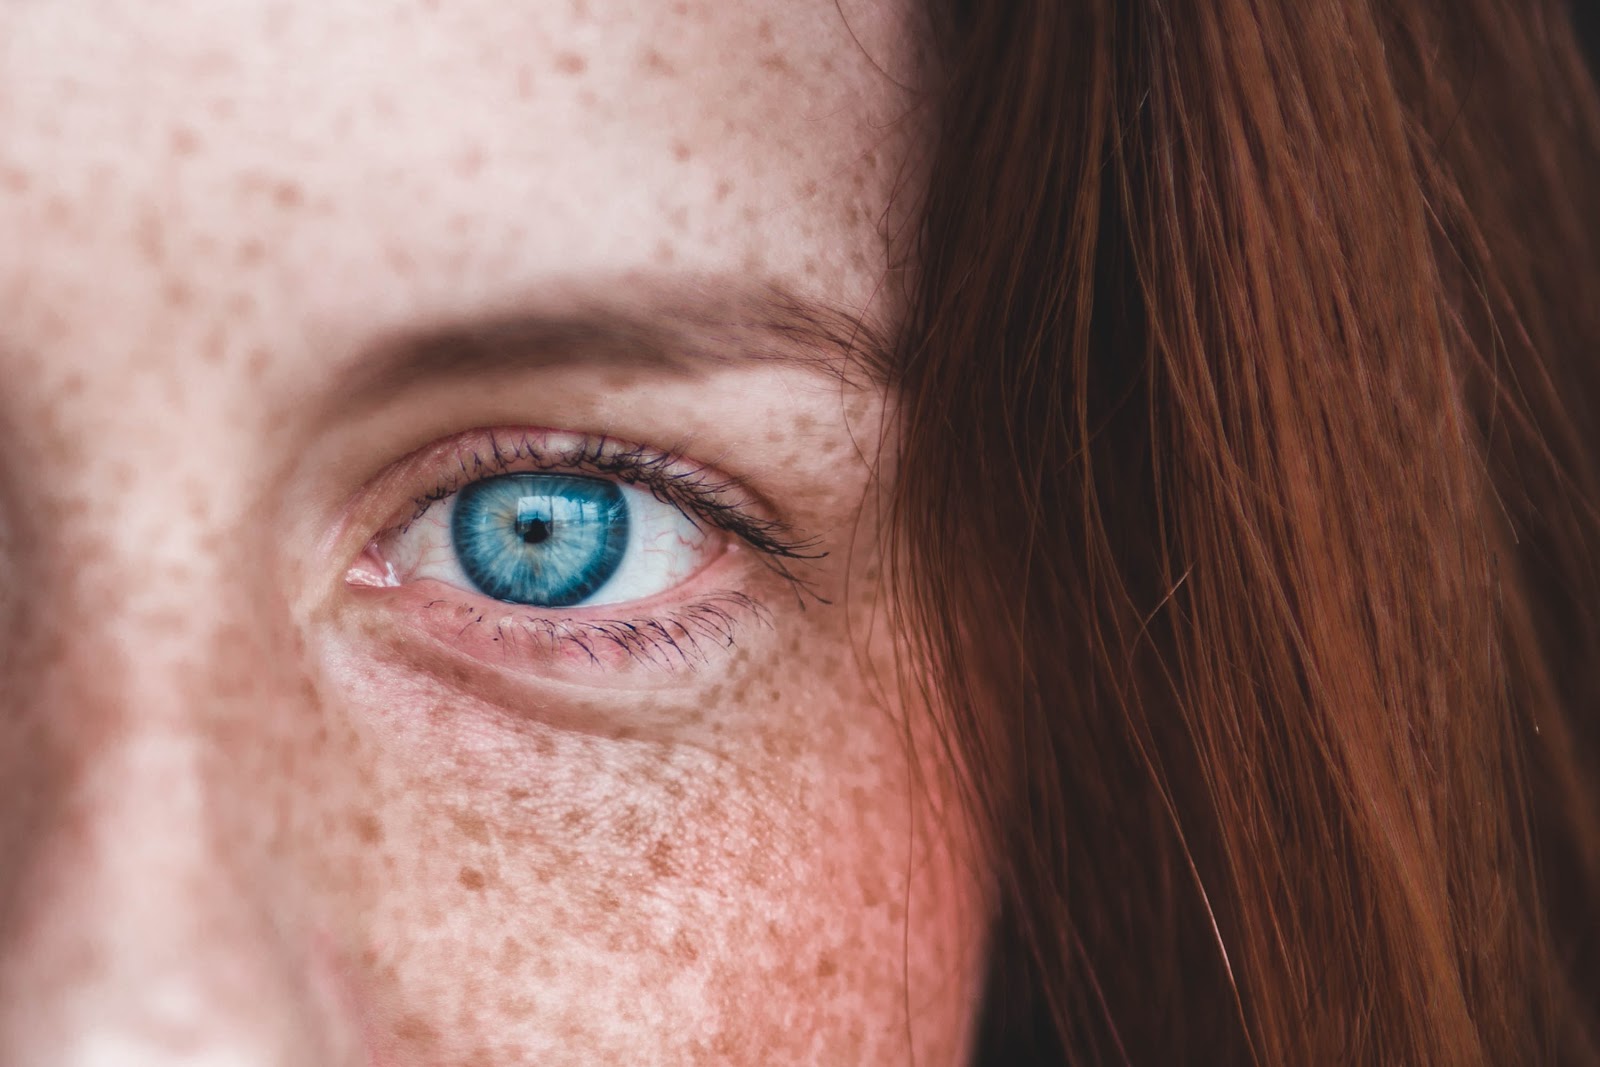
Front light
Front light, or front lighting, refers to the light that comes directly in front of what you are photographing, that is, the light source is behind the photographer.
In this type of lighting we have to be careful not to overexpose the subject being photographed, and also be careful with the amount of details we want. Because with the light in this direction it is very easy to lose details in the photo, because the light does not create enough contrast.
We can use a number of places and situations to create more control under this type of light direction, just keep in mind how we can manipulate it. A facade of a glass building that reflects lots of light, clear walls, or even the garage door of the house can be used to create great images with this type of light.
Great options to control any type of light, be it natural or artificial, are the batting, see more at the end of the article, because besides helping you to control the direction of the light they can also help you to control the intensity, blocking the light you have available.
Pros: Front lighting will normally illuminate the subject’s face evenly, without shadows.
It will create an aesthetic and balanced look, which is why this setting is very popular in fashion photography.
Cons: The lack of shadows that this type of lighting creates creates little depth and little drama in the image.
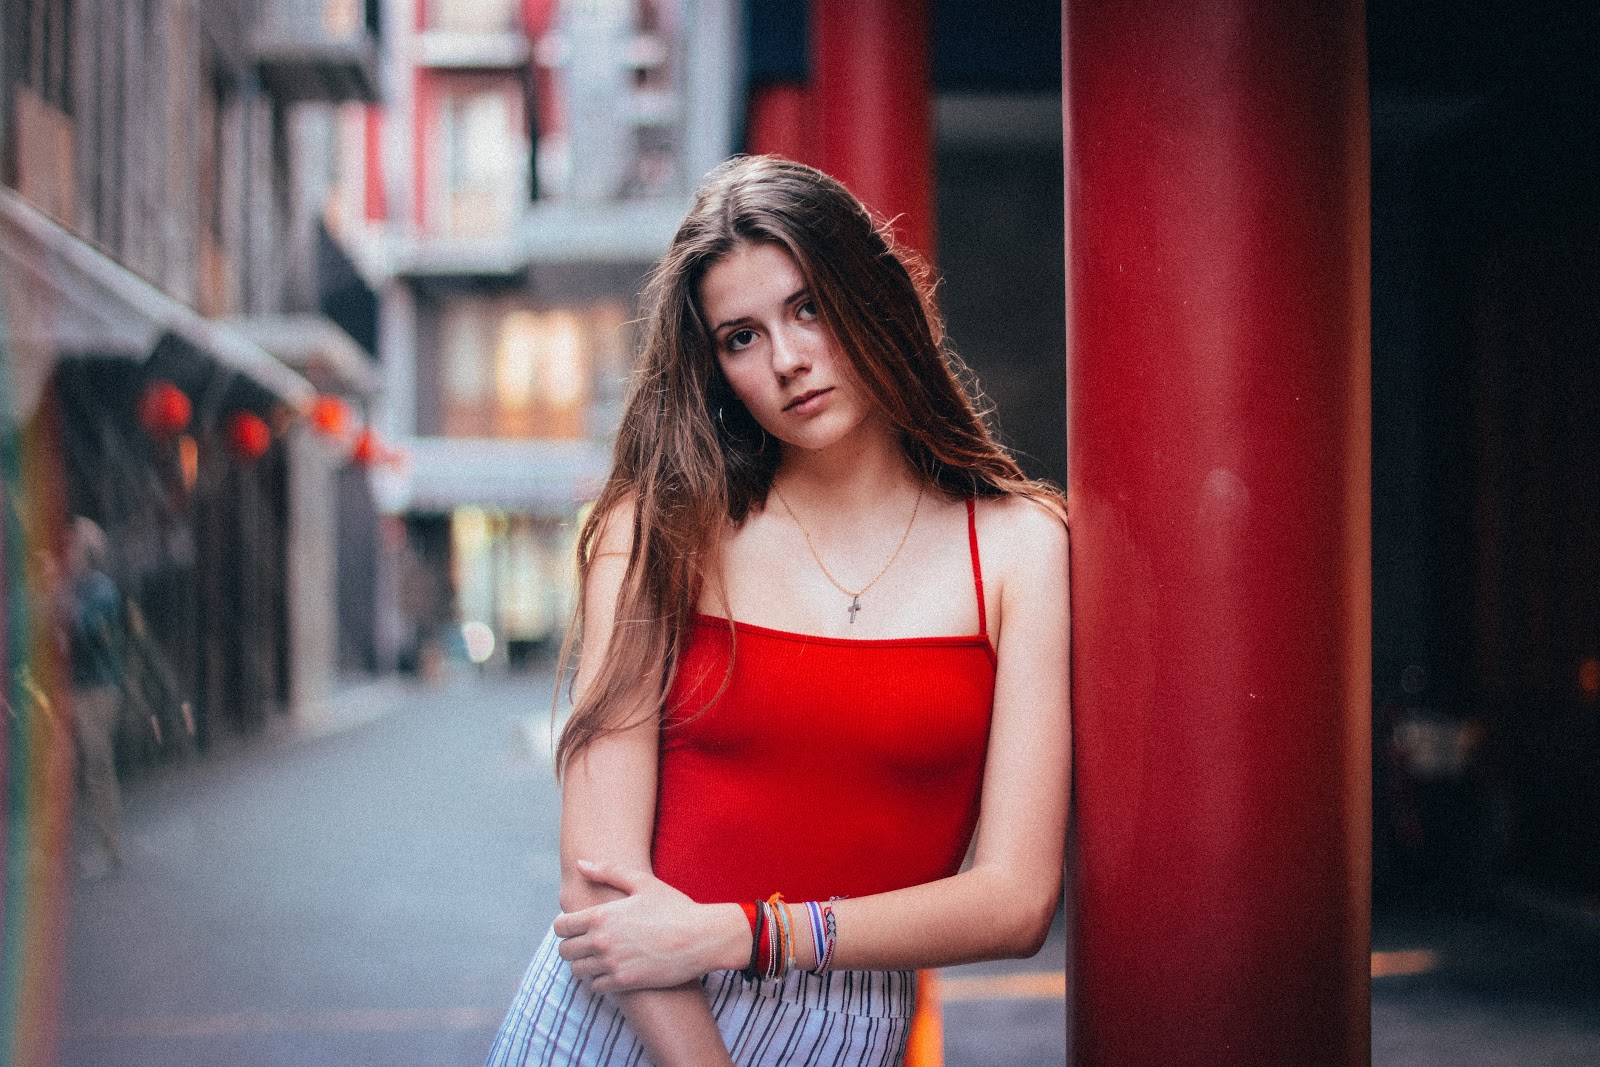
45 degree lighting
As the name suggests, this refers to a situation where the light comes at a 45 degree angle.
This is a very popular lighting system in photography, especially for portraits, and is often called Rembrandt lighting . A clear tribute to the Dutch painter.
It can be easily reached with side light from a rising or setting sun, or by positioning your model at a 45 degree angle to a window. This type of lighting is one of the most used when we want to photograph something with a little more personality and drama as to lighting and is one of the great lighting pillars for portraits. And depending on the situation it produces a much more appropriate climate for certain types of portraits.

A classic example of this type of lighting is the presence of a triangle of light on one side of the person’s face being photographed. This helps to create volume on the face and improve the contours of the face.
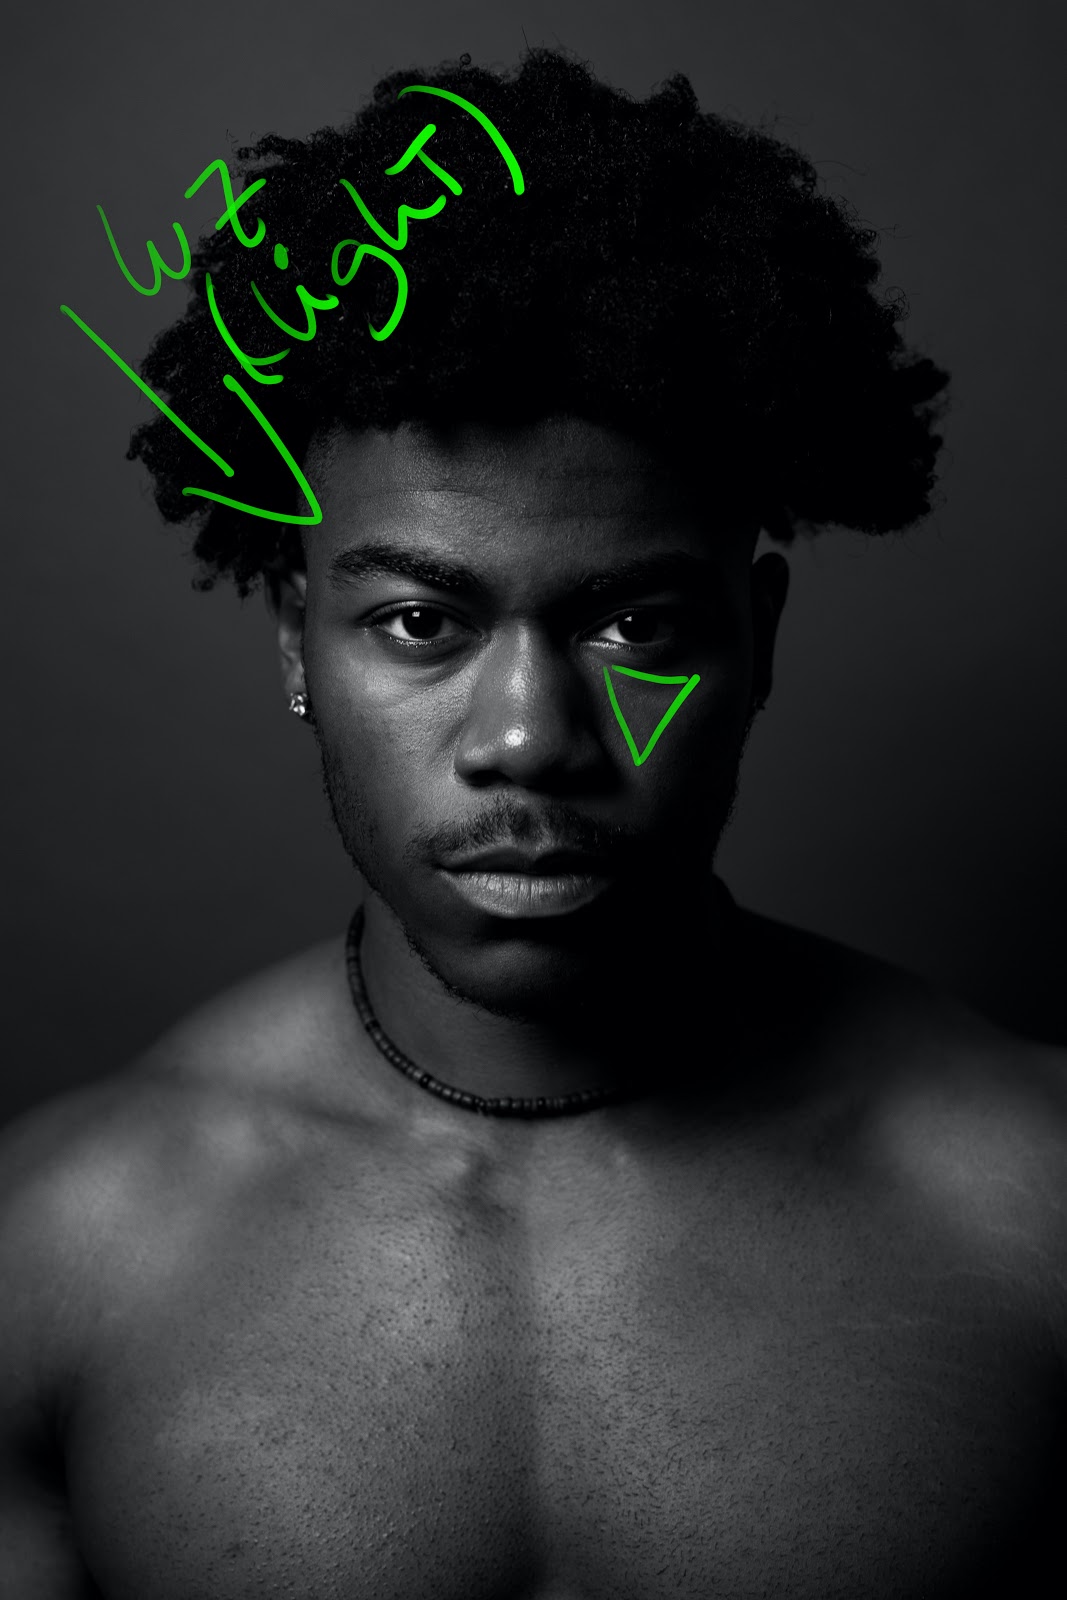
Pros: In this lighting setup, you will notice how the light gradually illuminates your subject’s face. Also creating a gradual shadow, and with this adding volume and depth to the photo. That is why this setup is so attractive to most viewers.
Cons: The dramatic effect created by the shadows may not be adequate in some photos so as not to tell a visual story.
Lighting 90 degrees
As the name suggests, this type of lighting refers to a situation in which the light comes from a 90 degree angle from the object to be photographed.
It can be achieved with side light from a rising sun or with a positioning setting where the object is at a 90 degree angle to a window, for example.
This type of lighting has a lot of personality and creates a context all its own, as if what is being photographed is going against the light, or coming out of it.
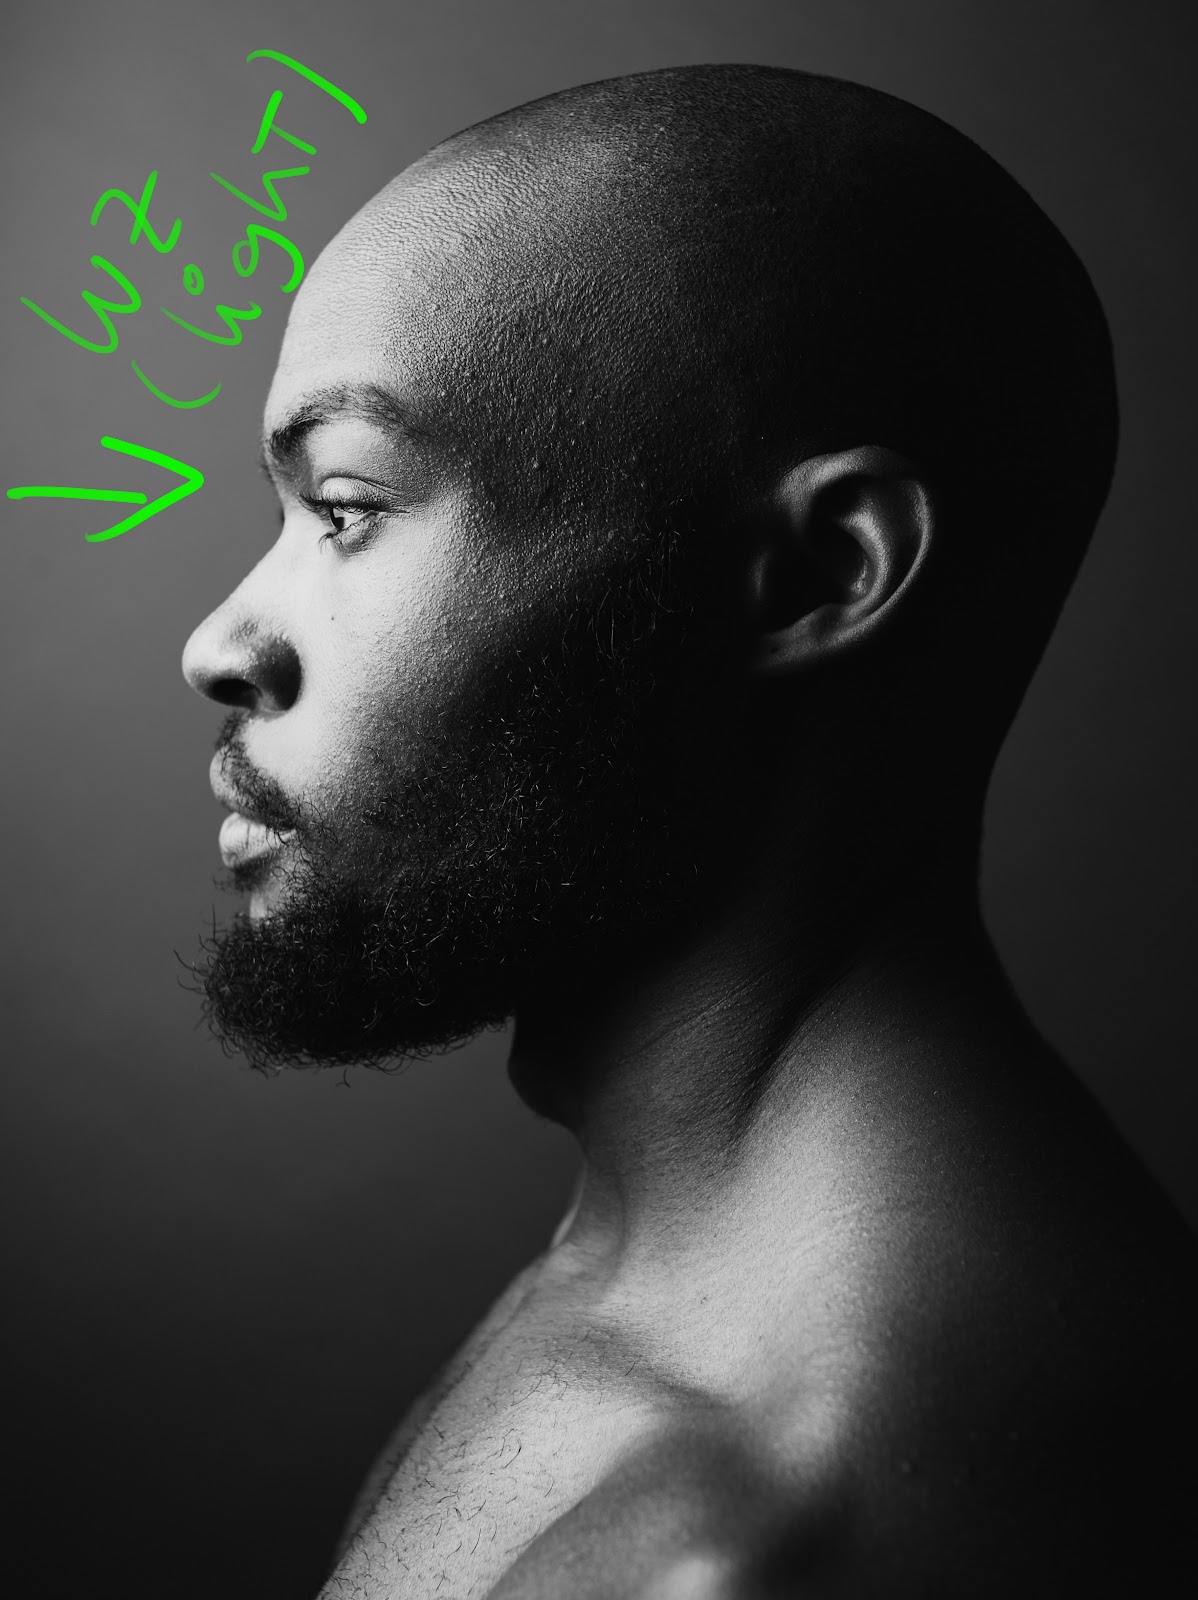
Pros: extremely dramatic effect, which is almost impossible to ignore.
Cons: Because it is a very dramatic lighting scheme, we have to be extra careful about what is being photographed, because sometimes the scene can become scary.
It all depends, of course, on what you want to evoke in your visual history.
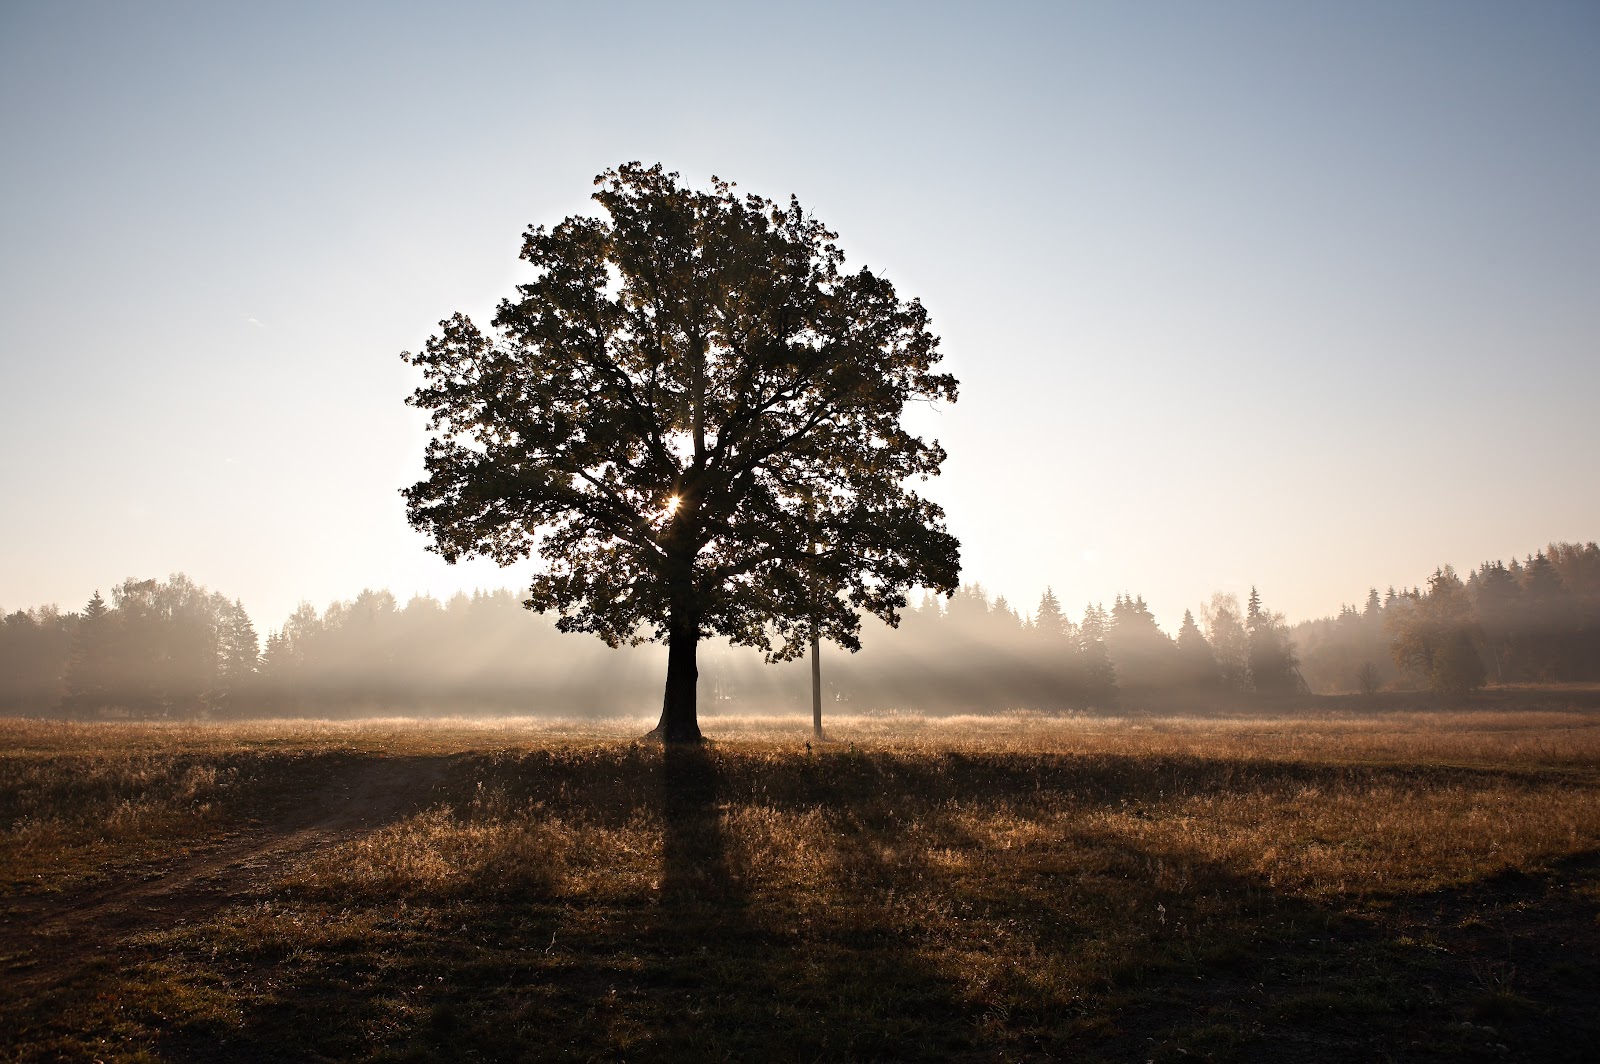
Backlight or Backlighting
This refers to a situation where the light comes from behind the object, and you, the photographer, are facing the light source. This type of lighting is super powerful as it creates a very strong visual context.
This type of lighting is not only used for portraits and can be seen a lot in landscape photography, for example.
In portraits this type of lighting can be used in documentary photography, and even in more abstract portraits where the intention is to describe the feeling of the moment more than what is being photographed.
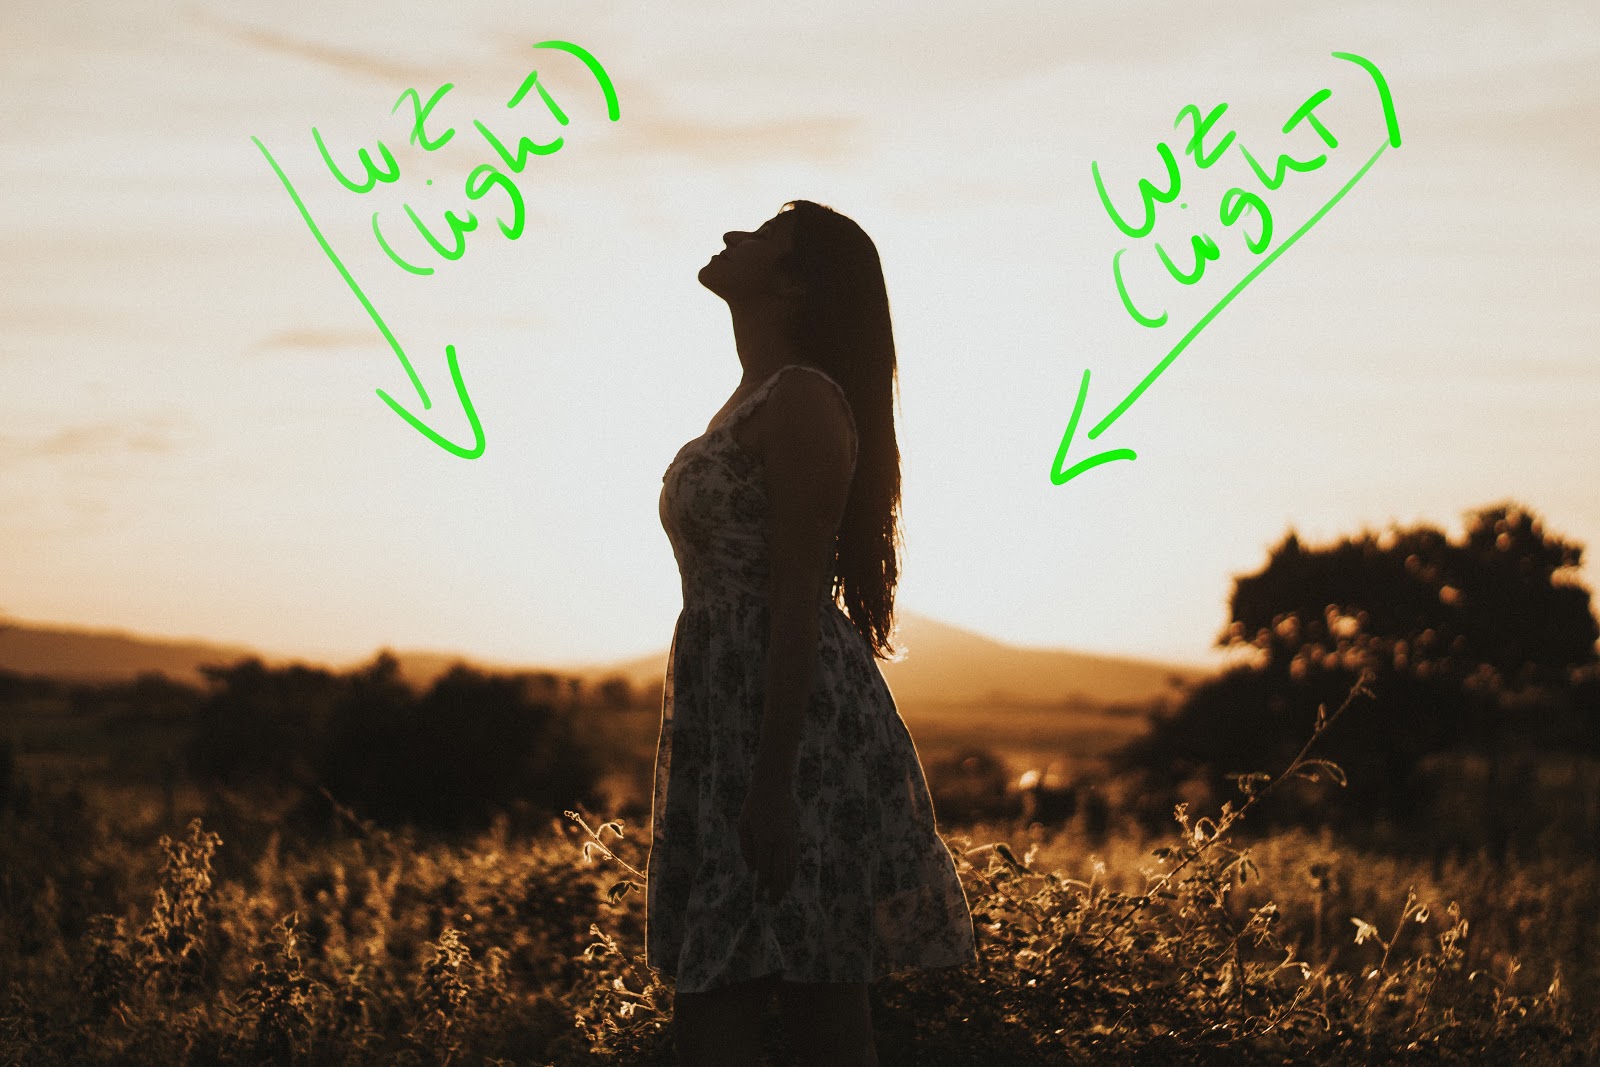
Pros: Backlight will create highlights in the contours of your subject, and unlike with front lighting, this will create a sense of depth, and a clear separation between the object and the background.
In this type of lighting scheme we have to be careful with the amount of light that we will have available. We often have too much light which can hinder the correct exposure of the photo.
While overexposure can be good for creating a wider background, underexposure will usually result in a nice silhouette (as above)
Cons: As mentioned, this is a little more advanced to handle this type of lighting, but again, a great opportunity for some creative photography.
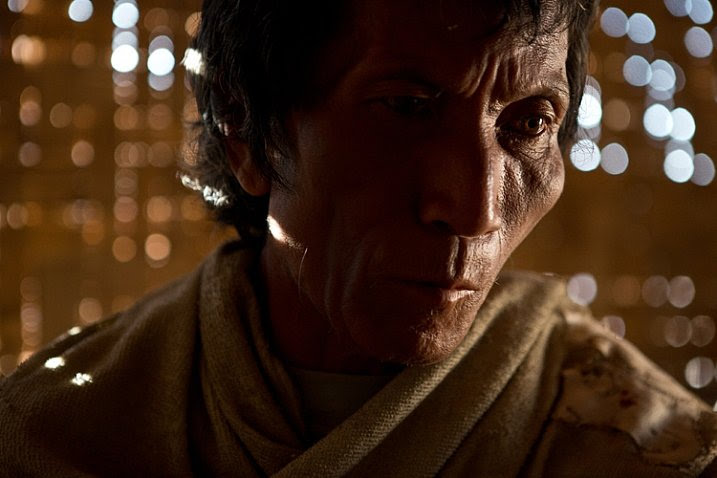
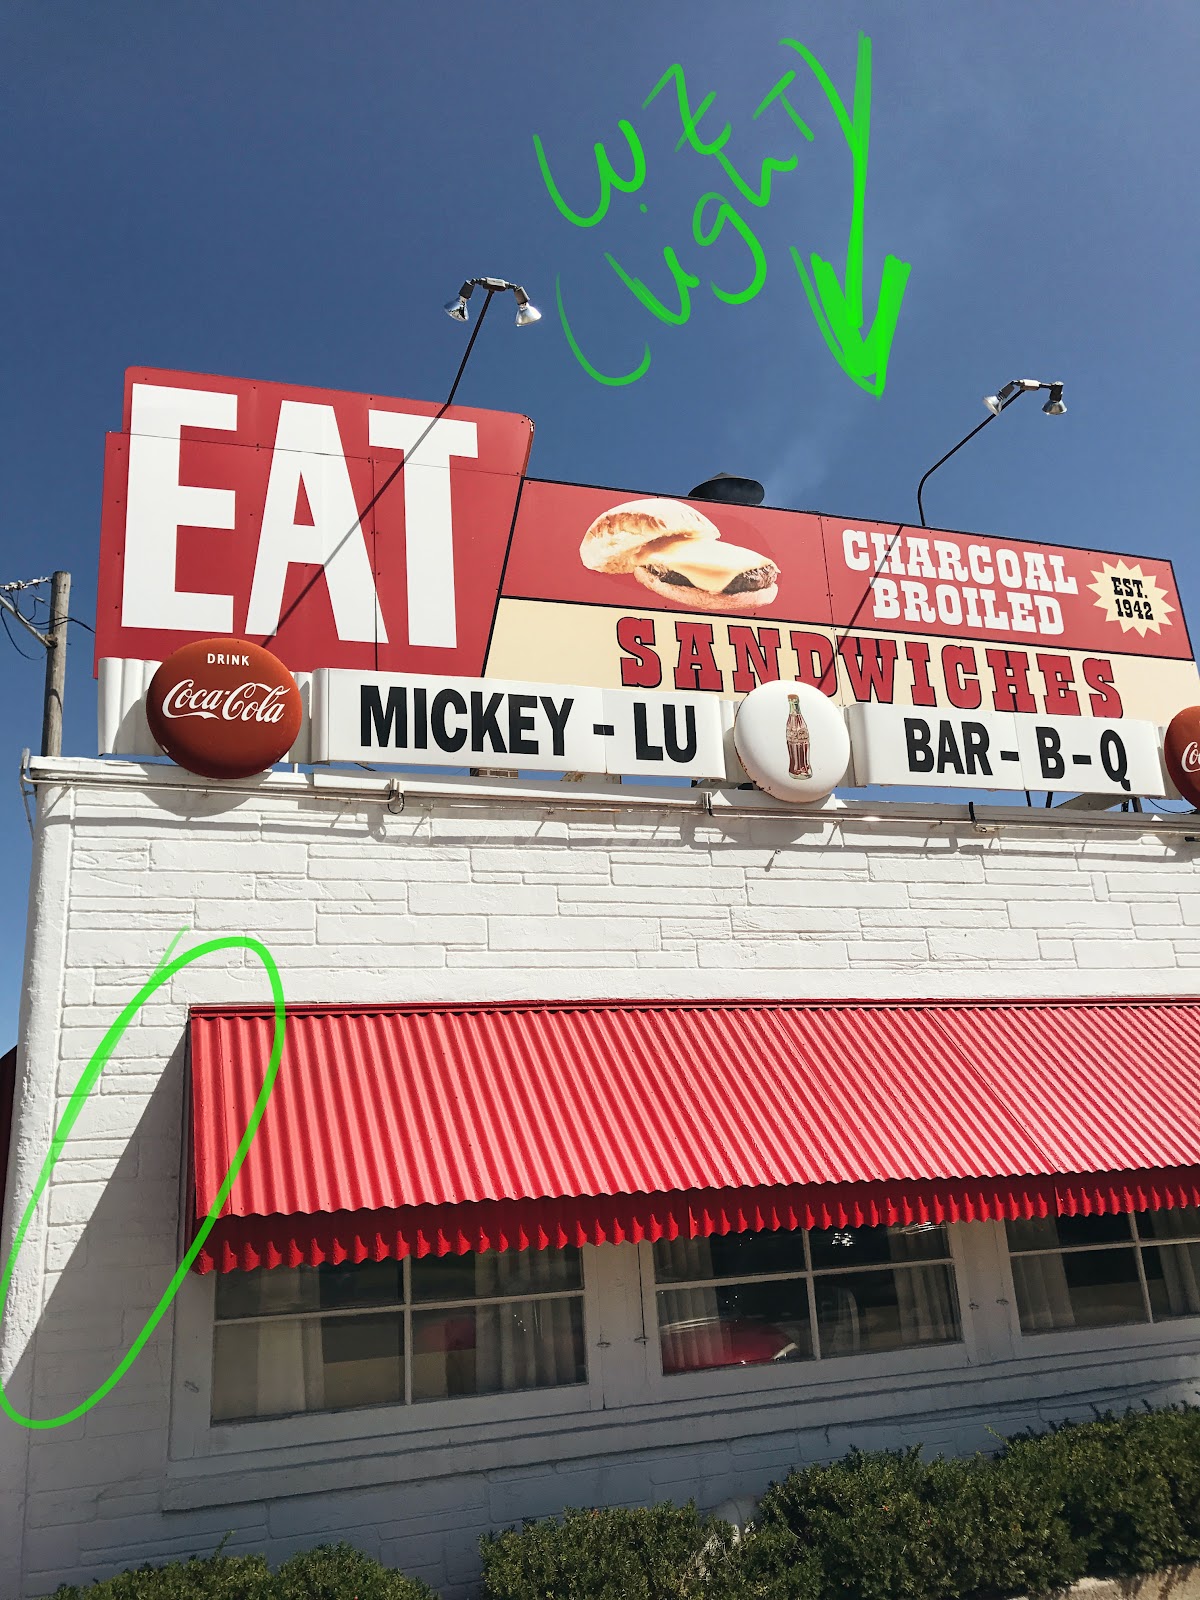
Top lighting
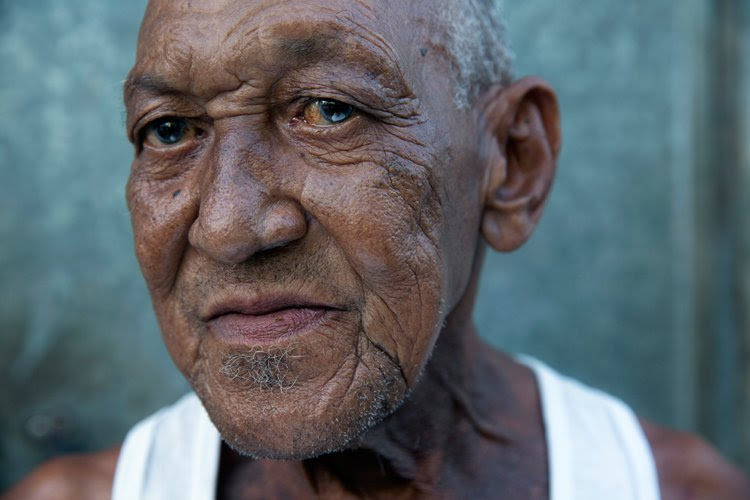
This refers to a situation where the light comes directly overhead, such as during midday. It is a type of light that is very difficult to use, but it is not impossible. When we have few clouds in the sky this type of light can be used to create images with a lot of tonal contrast, as it will help you create well-defined shadows.
In portraits we will always have to pay attention to the direction of the light as it will help us to better tell the story of each photo.
Pros: the best visual example for this type of lighting is an interrogation room, it will be a very nice type of lighting to create drama and some sense of suspense in the image. However this type of light can be used intelligently and still create great images.
The light from above will result in deep shadows on your subject’s face, causing the forehead to cast shadow on the eyes and the nose to cast shadow on the chin. And if the light is a little more diffused it can create a much more pleasant and simple finalization.
Taking this type of lighting to the extreme, awarded with Oscar for cinematographer Gordon Hugh Willis , he did an innovative job in Francis Ford Coppola’s film, The Godfather, with the combination of underexposure and placement of the lighting source above the actors.
He was able to withstand the dark and mysterious sensation of this film, with audiences unable to see most eyes throughout the film.
Cons: If used correctly this type of lighting can be a game changer in your photographs. Otherwise, it will appear that your model will answer some questions.
Controlling natural light
Basics: To make good photographs in natural light one thing that you can never forget is planning .
Always choose the right time for and the right place to take your photos, as the sun will not wait for you.
Do not forget that you must also change your subject to control the amount of natural light as well as the quality of the light.
Advanced: You can control natural light almost like controlling artificial lighting, with the help of reflectors, batting or flags.
Reflectors, or batting, are used to bounce light on the subject’s face.

For example, if you are dealing with light from above, you can overcome the problem of dark eyes by lighting them up using a batter. Or even illuminate one side of the face using only the light from the hitter, in the case of lighting schemes from a 45 or 90 degree angle.

A flag is usually a piece of black fabric that can be used to block unwanted light and create shadows (shadows mean a sense of depth) on the subject’s face.
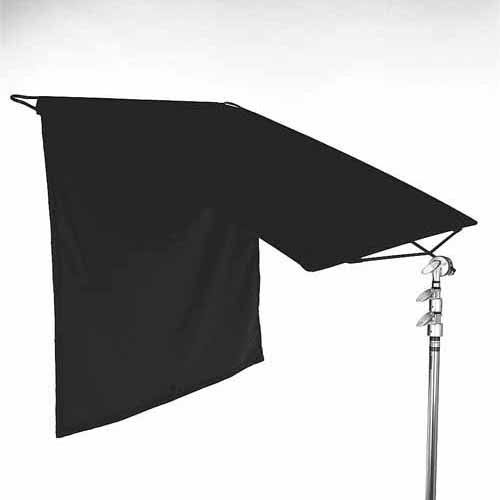
To use a flag correctly, you will need someone or something who can hold it.
Natural light is not even a 7-headed bug, nor is it the salvation of crops, it is just another source of light that we have available to make our photography. A good photographer studies how light behaves regardless of the source that produces it.
Knowing how to deal with the direction of light and working with it in order to produce photos improves is a daily goal. It is also a challenge that we have to overcome every day. Regardless of the examples I mentioned here in the article, you can feel free to experiment, to mix more than one type of light to bring what you have in mind to life.
What did you think of the subject Direction of Light? Leave it here in the comments!