Today’s article is about something I love to talk about and I’m going to give you several tips on how you can improve your black and white photography.
It is not because we see the world in color all the time that we cannot be creative using a reduced amount of tones. And for many people being creative using a limited amount of resources can be a nightmare.
That’s why today I’m going to unravel at least 20 tips for black and white photography that will help you not be afraid of shades of gray. Do not think of black and white photography only with a feature that is used when the colors are not so cool, because this is a great myth.
On the contrary, use black and white photography to create an impact and make feelings spring up.
20 tips for black and white photography
1. Establish a clear idea of what you want to photograph
This tip hetre is not just for black and white photos, but for any photo you’re taking. Before taking a photo you should have an idea of what you want and how you want to show it through this photo. This will help you get the message across simply and accurately. Without a clear idea of what this means, it is almost impossible to be understood.
In some cases it is difficult to pass on some kind of idea, such as covering an event where everything happens very fast. In these cases it is up to you to choose how the photos will be presented in order to tell the best possible story about the event.
This process will probably be done during the post production of the images, where you can also choose whether the photos will be in black and white.
2. View the photos in black and white
Seeing one thing and imagining another can be a little tricky at first. However for black and white photos this is necessary.
A good technique to use when you plan to take black and white photos is to analyze the photo in portions. Look for lines, shapes and shadows and try to abstract the colors little by little. This can help you see the photo in black and white before actually taking it.
View all the details in the photo and imagine what they will look like in black and white. Things like colors, lights, shadows and all the details will be shown in a gray scale that will provide a more captivating photo. This is complicated to do when you are a beginner photographer but it will help you a lot to train your imagination.
3. Play with the contrast
Of course, you’ve noticed that a black and white photography doesn’t just contain black and white colors. It also contains a large number of shades of gray in addition to black and white. One way to create better images is to play with the contrast. Not only as a composition tool but also as an editing method.
When we have a higher amount of contrast the textures in the image the focus is more apparent. And when we use contrast as a compositing tool, we create stronger and more direct images.
Do not abuse the contrast so much, although it improves the textures and also gives more clarity to the tones of the photo, using excessive contrast can ruin your capture with unwanted effects.
4. Highlight textures
A very cool way to bring life to a photo is to photograph things that contain some texture. Layers of different textures create depth in the photo. If it’s a black and white photo, even better. Old objects, worn wood and similar items are great things for black and white photos given the amount of textures they present.

Textures (wood, water, stones, skin details, etc.) are essential for black and white photography.
Of course, not everything are flowers, so once again be careful with exaggerations, don’t include too much textures in your photos to keep things from getting too messy.
5. Look for adequate lighting
The choice of light is very important to obtain optimal results in any type of photography. And in black and white photography it can be more important than you think, so pay close attention to lighting. Both the morning light and the evening light are very beautiful for black and white photography, but always worth experimenting with at other times.
Always, wait for the best lighting for your photos, and when it doesn’t happen naturally create the perfect light for your capture when possible.
6. Configure your camera
This tip here is for anyone, beginners to professionals, set up your camera to help you take black and white photos. Most cameras can be configured to take photos in RAW or JPG or both formats at the same time.

Configure your camera to capture both formats at the same time. Right after use the monochrome photo setting that exists on your camera, so you will shoot in black and white.
This setting will only affect the JPG file that will be saved, and it will serve as a visual guide for your black and white photos. When you post the photos, use the RAW file and set it to black and white in Lightroom or Luminar. And Bob’s your uncle.
7. Lower the ISO
When shooting in black and white we have to be more aware than ever of the noise that the ISO can cause. So to avoid excessive granulation, always try to use the lowest possible ISO setting. It will not always be possible to use a very low ISO due to exposure, so keep in mind that some noise will exist.
Of course, for some artistic concept in the photo you are capturing you may want some amount of grain. Therefore, the use of ISO adjustment has to be done carefully so that it does not interfere with what you want to pass on your photo.
8. The vignette may be welcome
Vignette in photography is that darke border that is most commonly found in some photos. And applying a vignette to the photograph will help people viewing your work to focus on what you wanted to emphasize in the photograph. This goes for any photo, black and white or color.
Using the exaggerated vignette does not always contribute to your work, but small amounts can help increase the emotional charge of the photo.
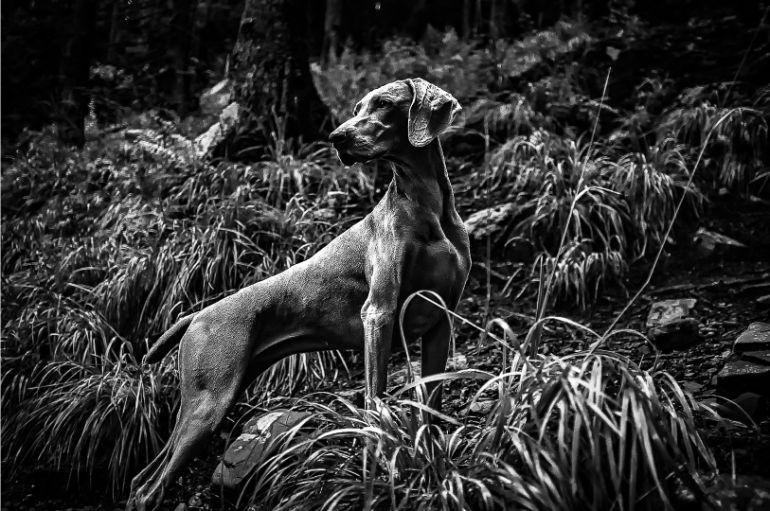
9. Experiment with nature
Use the elements of nature, the shadows of the trees, the waves of the sea, wood, a sky full of clouds, landscapes full of light and shadows, the wet soil after the rain and the animals. This will help you develop the ability to use every detail to your advantage and compose better images.
Patterns are also cool. That’s because they provide a controlled and repetitive order that can become an interesting feature in the black and white photo. Patterns exist just about everywhere, you just need to look for them.
Image patterns are actually easier to see and use in black and white, using patterns in a photo offers another form of contrast to help create depth in your photo.
10. Beware of reflections
Be careful with reflections in water, mirrors or glass as well as other surfaces.
As you know, light is very important and reflections can damage the composition or distract viewers. Of course, when composing the photo you must be aware of all these possibilities, and sometimes reflections work magically well.
With a polarizing filter you can slightly modify the light in order to eliminate reflection if desired. I particularly believe that a well-composed photo with reflection in places that help tell a story is much more interesting.
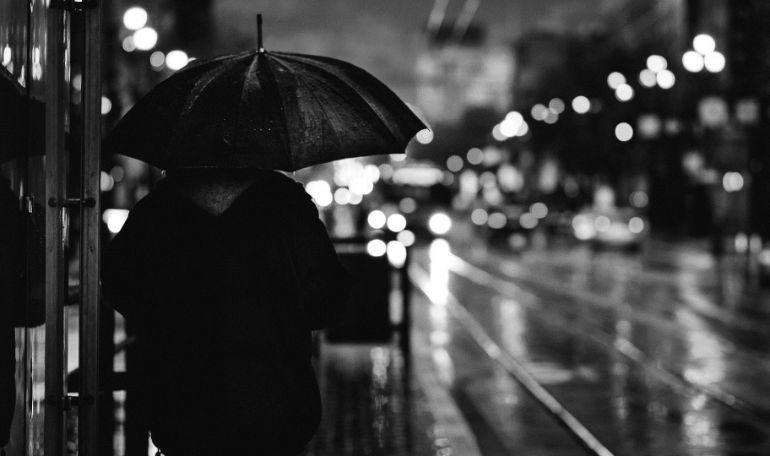
11. Enjoy rainy days
Rainy days are a good time to capture black and white photos, in addition to creating great textures they still help to convey a feeling of calm. If the lighting is acceptable, rainy days are a full plate for black and white photography.
Even periods before or just after the rain can be a great time to create amazing black and white photography. You will find patterns and textures that don’t happen all the time.
12. Highlight black and white tones in the composition
In black and white photos it is very important to choose your composition, and adding the pure white and pure black to the composition will greatly improve the overall contrast of the photo. Then include any of these elements at the time of capture whenever possible.
If you are just converting a photo to black and white, pay close attention to the histogram to create a consistent contrast between these colors. Working well the contrast between black and white, whether at the time of capture or post, your photo will gain more depth.
13. Black and white landscapes, why not?
Just like any other type of photography it is worth analyzing beforehand whether you will want this photo in black and white or not. Beautiful landscapes don’t always look good in black and white photography.
Evaluate the colors of the landscape well in order to anticipate, know where there will be more blacks and where there will be more whites. This way you will be able to compose your photo more easily and decide whether it will be black and white is not a big dilemma.
A great example of black and white landscape photography is the work of the great Ansel Adams
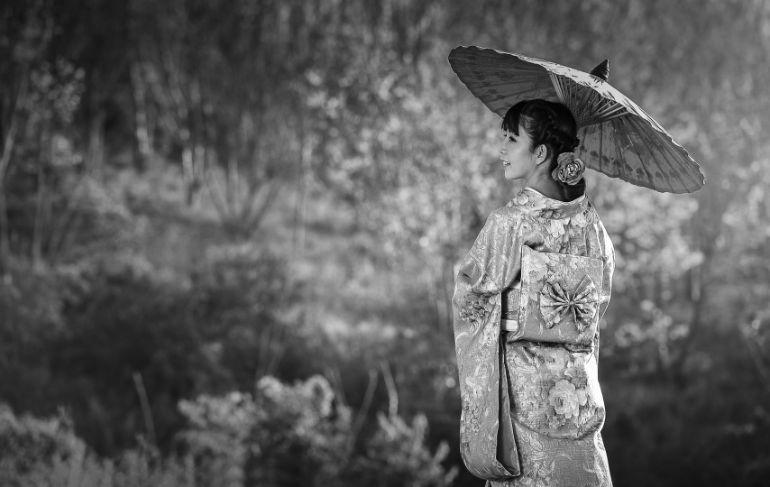
14. Black and white portraits
Sometimes working with colors can be a great distraction, and here we can divide the work of a portraitist and a great portraitist.
Black portraits are great for creating a certain tension between the photo and the viewer, the black and white photo can be used to unmask wrinkles, and expression marks that will give the photo much more life. Or even in some cases how smooth a baby’s skin can be, and working with black and white photos it will be the most apparent in your photos. Remember, textures!
The absence of color can contribute a lot to the message you want to get across. You doubt me see the work of a photographer called Platon.
15. Enjoy the lines and shapes
In everything we see every day as we walk down the street there is great photographic material. Take a few seconds to observe, you will begin to notice all of these incredible photos that you can capture.
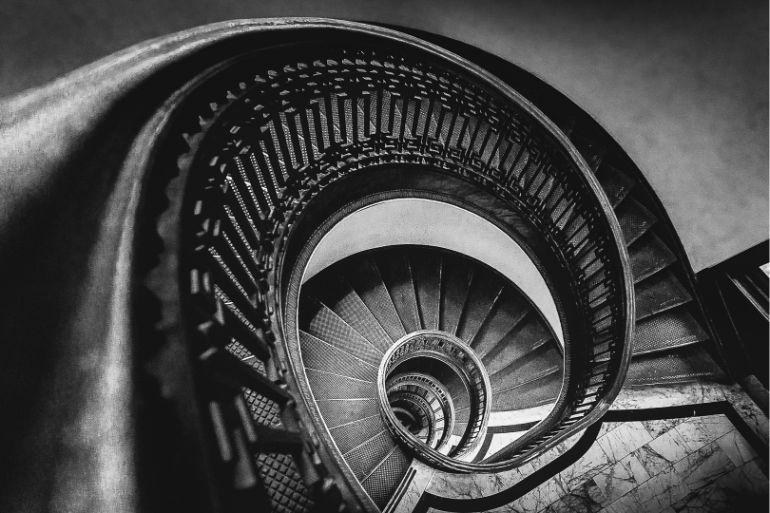
In architecture or on a street is paved with its natural contrast, this type of scene will have a much greater intensity of emotion in black and white than in color. Enjoy stairs, handrails, vases etc. All kinds of shapes that have at your disposal and that have some repetition pattern.
Shoot and experiment in post if that scene looks better in color or in black and white, you may be surprised.
16. Black and white is not a fix
This one is very simple, I see a lot of people wanting to “save” a badly taken photo just by converting it to black and white, and this is wrong. Nothing fixes a badly taken, badly exposed and poorly composed photo, maybe just a few hours of Photoshop.
Worry about making the best capture ever regardless of whether your photo is black and white or not.
17. Use a polarizer
This tip is linked to tip number 10, have a polarizing filter available for certain situations. Photos taken on surfaces such as water, glass windows and even leaves can emit some reflections.
To reduce reflections from sunlight, you must use a polarizer. By removing the color from our photographs, reflections can be a source of distraction. This way you will have a lot more control over how your photo will look.
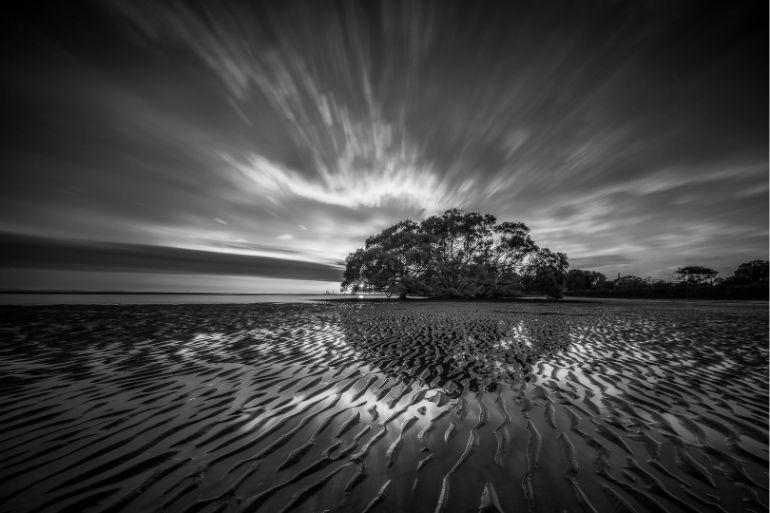
18. Use long exposure to your advantage
The long exposure will help you capture more information about landscapes and objects.
You will use long exposure when you want to create movement or have low lighting for your photo. However using long exposure we also capture more details in the photo. If you combine it with a RAW format, you will have incredible image results with more details, textures and tones.
This effect is ideal to highlight the movements of a sky populated by clouds or the water falling of a waterfall.
19. Do not use monochrome mode
In one of the previous tips he said, for you to use the monochrome mode of your camera. But I don’t want you to use the JPG image as the final product, but just as a reference.
The RAW file produced by your camera has much more resolution and details in the image so it makes perfect sense to use it. The conversion to black and white you can done in your post production program.
But this is not a rule, if your took a awesome black and white Jpg and it is perfect, go for it with no shame.
20. Gray matter really matters
This tip is worth it in several ways.
The first is that all the different shades of gray that can contain a black and white photo are very important. They will definitely help you tell your story better.
And the second is one that I always talk about, think about the photo you are going to take before taking the camera out, use your gray matter to imagine the photo.
Which editing programs are most recommended for editing black and white photographs?
The most popular editing programs are Adobe Lightroom and Photoshop.
With these two programs, you can edit the light and color intensity separately, and a number of other things. For example, you can create a more intense sky in the photograph without having to change the entire photograph.
In addition, you can also edit your photos using the Nik Collection Silver Efex Pro. This program is made for black and white photography.
Particularly I have been using the Skylum Luminar more and more, which is an excellent photo editing platform and has made my life much easier.
That’s it, if you had the patience to read this article until the end, I must thank you in advance, and of course if you put into practice what you have written here your black and white photos will never be the same.
To finish all the photos in this post were edited on Lightroom using the new preset collection for Lightroom Black and White 2.0, you can download a free sample of this collection here.
Any doubts, suggestions, compliments, or whatever you wanna say use the comments!
